Crafting Your First Board Game Prototype: Materials and Methods
Introduction
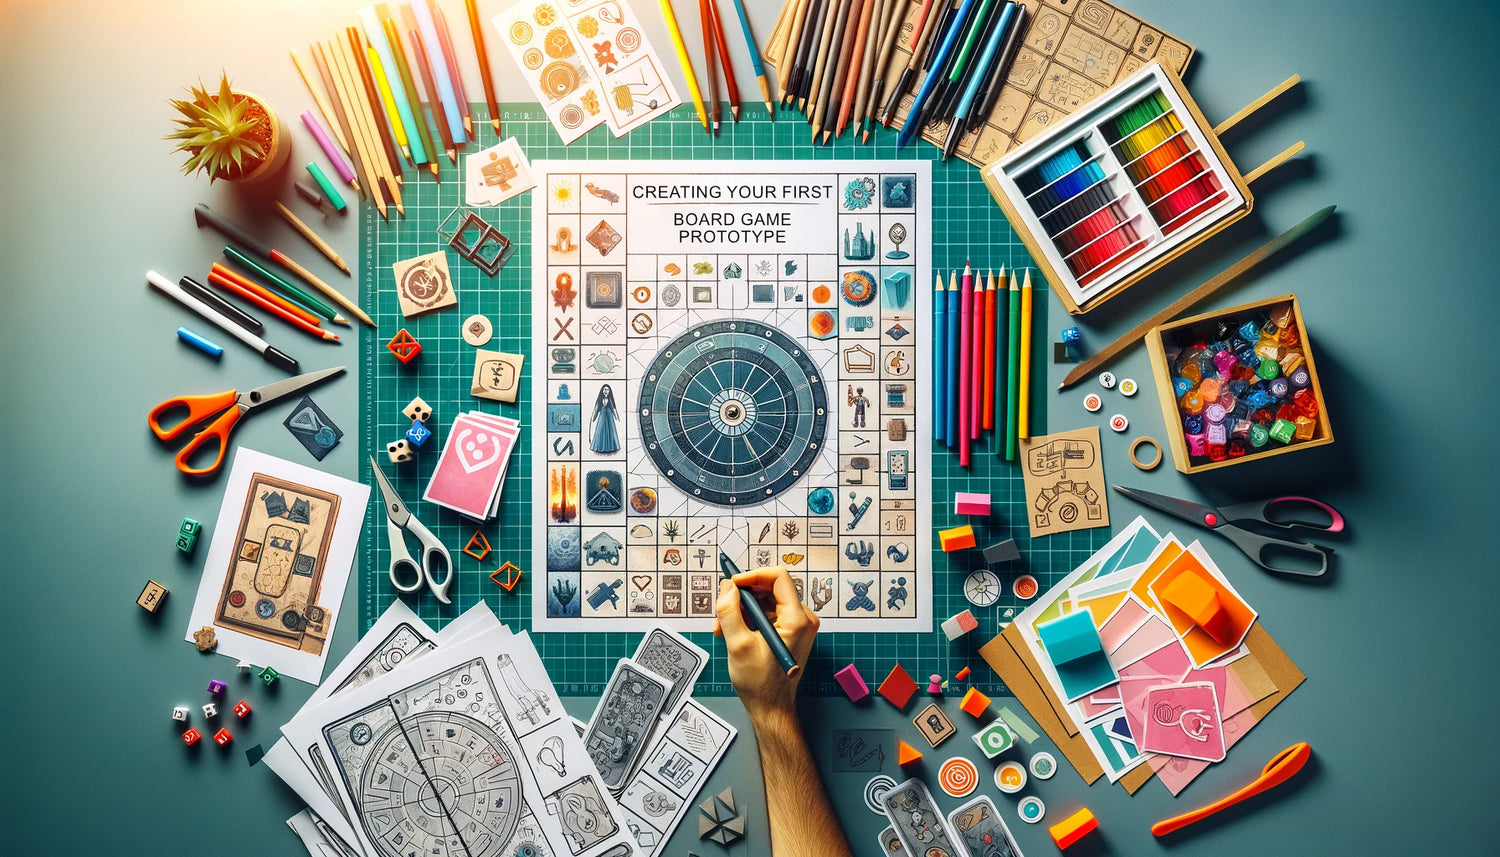
Creating a prototype is a pivotal step in the journey of board game design. It transforms your ideas from concepts into tangible, playable formats. This guide delves into the materials and methods for crafting your first board game prototype, providing practical advice to bring your vision to life efficiently and effectively.
Understanding the Role of a Prototype
A prototype is a preliminary model of your game, used for testing and refining gameplay mechanics, rules, and player interaction. It’s a tool for discovery, allowing you to identify what works and what doesn't in a hands-on way.
1. Starting with a Concept
Solidify Your Game Idea: Before you dive into building a prototype, ensure your game concept is clearly defined. Know your game’s objectives, basic rules, and mechanics. This clarity will guide your prototyping process.
2. Choosing the Right Materials
Prototyping doesn’t require expensive materials. The goal is functionality, not aesthetics.
Paper and Cardstock: Ideal for creating cards, tiles, and simple boards. They are easy to work with and modify.
Markers and Pens: Useful for drawing and labeling your prototype components.
Stickers and Labels: Can be used to add text or icons to dice, tokens, or cards.
Scissors and Cutting Tools: Essential for shaping and resizing components.
Basic Tokens: Use items like coins, beads, or buttons to represent players or resources.
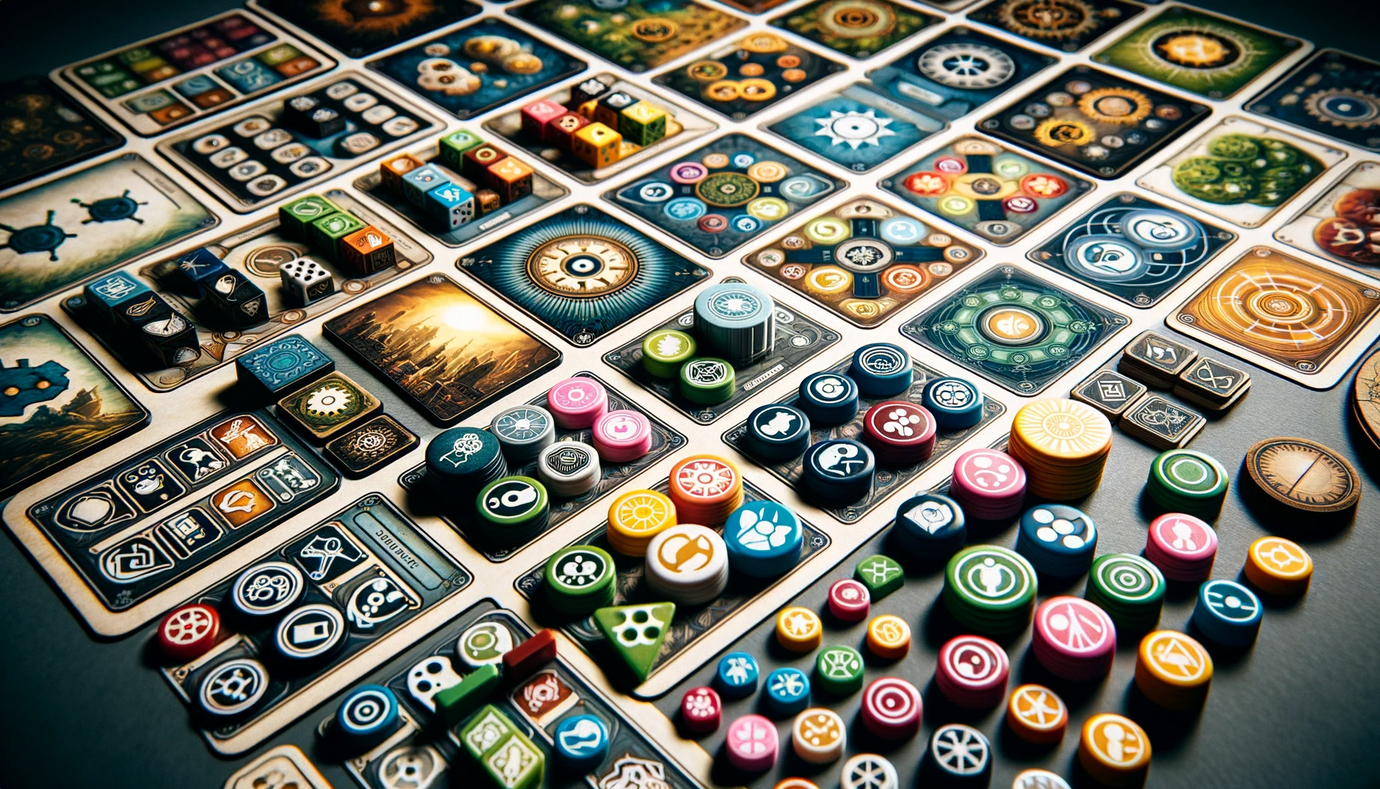
3. Creating the Components
Board: If your game requires a board, start with a simple sketch on large paper or cardstock. The board should be functional - fancy artwork comes later.
Cards: For card-driven mechanics, create basic cards using cardstock. Focus on the information each card needs to convey, like points, actions, or resources.
Tokens and Pieces: Create basic tokens from everyday items or craft materials. The goal is to represent game elements, like money, resources, or player characters.
4. Writing the Rules
Draft a Rulebook: Write down the rules of your game. Initially, this doesn’t have to be a formal document - a clear, concise description of how to play is sufficient.
Clarity and Brevity: Aim for rules that are easy to understand and as brief as possible. Complex rules can be refined later.
5. The First Playtest
Testing Your Prototype: Once your prototype is ready, it’s time to test it. Play the game with friends or family, observing how the mechanics work and noting any issues.
Gather Feedback: Collect feedback about gameplay, rules clarity, and player engagement. Be open to criticism - it’s crucial for improvement.
6. Iteration and Refinement
Making Adjustments: Use the feedback to make changes to your game. This might include tweaking rules, adjusting game mechanics, or redesigning components.
Iterative Process: Prototyping is an iterative process. Expect to go through several versions of your prototype before finalizing the design.
7. Moving to Advanced Prototyping
Once you’re satisfied with the basic prototype, you may want to create a more advanced version.
Improved Materials: Consider using higher quality materials, like printed cards or professionally made boards.
Adding Artwork: Introduce basic artwork and design elements to enhance the visual appeal of your game.
Digital Tools: Use software like Adobe Illustrator or Tabletop Simulator for a more polished look.
8. Cost-Effective Prototyping
Budgeting: Keep track of costs. A prototype should be cost-effective.
DIY Methods: Utilize DIY methods as much as possible. For instance, use free software for designing cards or boards.
9. Documenting the Process
Keep Records: Document the development process, including the changes made after each playtest. This can be valuable for future reference or if you plan to pitch your game to publishers.
10. Preparing for the Next Steps
Looking Ahead: Once your prototype is finalized, consider the next steps - more extensive playtesting, pitching to publishers, or preparing for a crowdfunding campaign.
Crafting a prototype is a blend of creativity, practicality, and experimentation. It’s a crucial step that brings your board game from concept to a playable format. Remember, a prototype is not the final product but a tool for exploration and refinement. Embrace the process, be open to feedback, and enjoy the journey of bringing your board game to life.
Previous article
Next article